DIY Yoga Equipment
Mar 12th 2025
Is your mat dirty but you’re out of cleaner? Need a bolster but don’t want to buy a whole new one? Maybe you want to turn one of your old mats into one for your kids?
Don’t worry, there are plenty of easy and fun ways that you can make yoga equipment at home for cheap. Whether you need supplies, or are just looking for a fun craft, take a look at our three Homemade Yoga Props crafts for a way to customize your yoga journey.
- 1.How to create your own mat cleaner
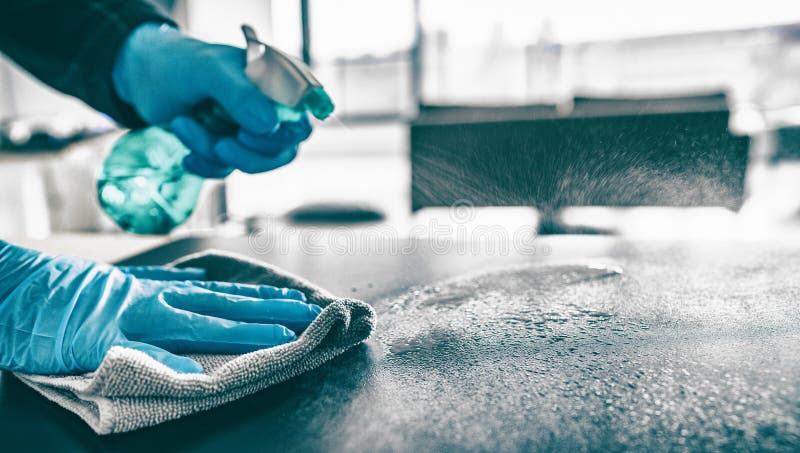
So, your mat is dirty again. You desperately need to wipe it down before leaving home and heading to your next class, but you don’t have any cleaner! Not wanting to ruin your equipment with the chemical cleaners in your cabinet, you decide to make your own using these simple steps.
Step 1: Find a clean, empty, spray bottle. Using a spray bottle will make cleaning your mat easy and simple.
Step 2: Fill it with water. Water is the perfect base for a mat cleaner because it is gentle on the material and efficient at wiping away dirt and sweat.
Step 3: Add 1-3 drops of tea tree oil and vinegar, along with your preference of any other essential oils. Depending on how you feel, you might want to add lavender, peppermint, eucalyptus, or lemon oil to the mix. While the tea tree oil and vinegar are best for the cleaning aspect of the spray, lavender, peppermint, and others may add a nice scent to your mat after you clean it. Studies show that peppermint is also known as an energizer, and lavender tends to have a calming effect.
Step 4: Spray and wipe with a towel. After you create your cleaner, simply spray your mat and wipe to watch the magic happen. Let your mat cool for a few minutes, and it should be as good as new!
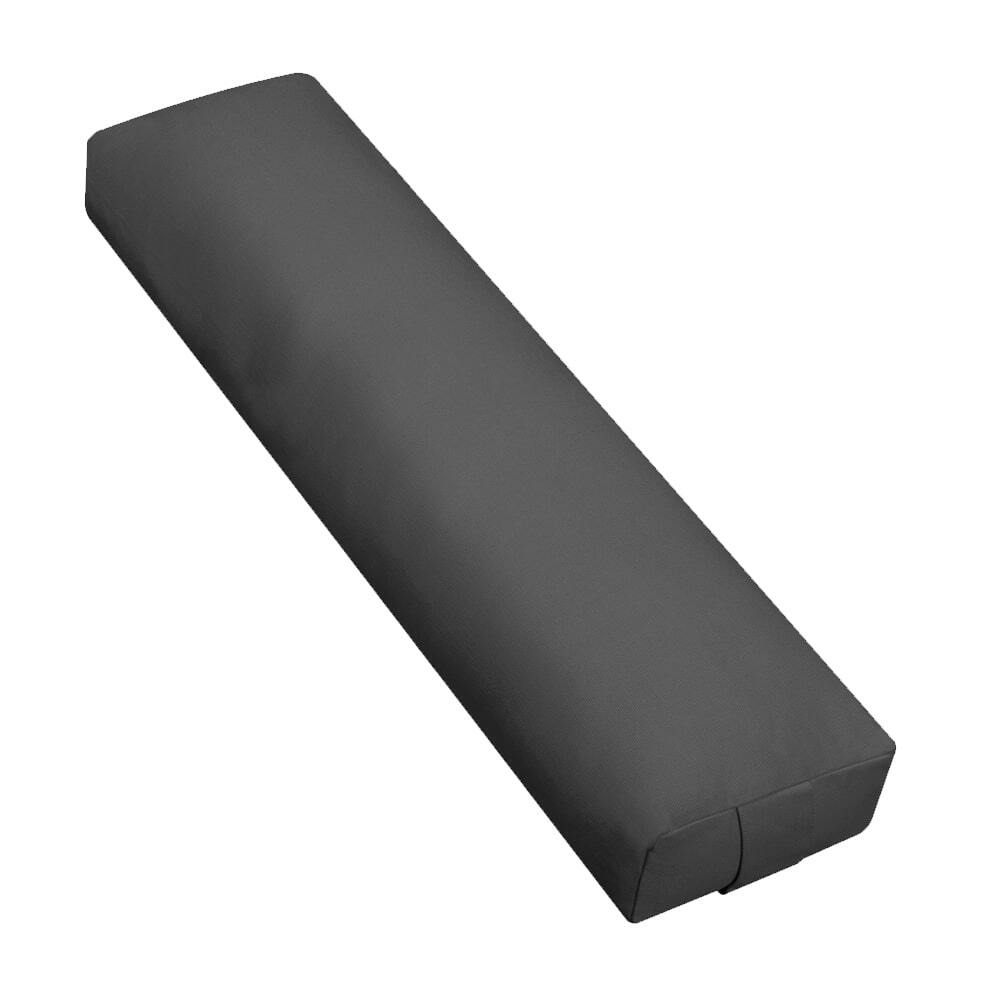
- 2.How to make your own bolsters
Is your old bolster starting to wear down? Maybe its not as firm as before, or you simply want one that’s a different size. Well, you don’t need to buy another entire bolster, hoping that it’s a perfect fit, because you can just make your own! Follow these steps to make your own bolster, exactly how you want it.
Step 1: Find a bolster cover. In order to make the perfect bolster, you’ll need a good cover. You can use one off of a bolster you already have or purchase the cover alone from our website. All under ten dollars, our covers are an easy, quality option for someone looking to make the rest of the bolster on their own. Click here to explore our bolster cover options!
Step 2: Stuff your bolster. Depending on how firm you want your bolster to be, you can choose what material you want to stuff it with. For round bolsters, you can use old blankets or beach towels. If you pack them in tight, they can give you the exact amount of support you need. Plus, doing this makes your bolsters easy to store as you can simply take the blanket out and pack the cover alone. Another good stuffer to use is cotton stuffing, which you can buy online or in craft stores. Cotton stuffing is easy to stuff and replace when it becomes soft or old.
Step 3: Try out your bolster! Your new bolster is ready to use and here to support you through it all. Providing you with just the right amount of support, your DIY bolster might work even better than the bolsters you’ve had before.
- 3.How to create and decorate a mat for kids
Do you have an old mat that you don’t want to use anymore, but just can’t get rid of? Or maybe your kids have been begging for mats of their own, but you don’t want to pay for new ones. If so, we have the perfect craft for you. Follow these steps to transform your old, boring mat into a fun and cute mat for kids.
Step 1: Resize your mat. Whether your mat is worn away at the edges, or you just don’t think your kids need that large of a mat, it is easy to cut your mat into a smaller size. Just use a ruler and a good pair of scissors to measure and cut off the unneeded ends. For reference, our kids’ mats are 60” x 24”, so that may be a good place to start.
Step 2: Decorate your mat. This step is definitely the most fun part, and you might even want to do it along with your kids. Of course, you can decorate your mat however you want, but there are certain supplies you may want to use. Some good ways to decorate are with acrylic paint and fabric paint markers. No matter how you choose to decorate, make sure you are using supplies that are permanent and non-toxic. Make sure you let the paint dry for about 24 hours before using the mat.
Step 3: Practice yoga. Now, all that there is left to do is practice. Find a family flow or teach your kids some moves of your own. No matter what they do on their new mats, your kids will love and appreciate the work and fun that went into making them. DIY yoga accessories